MO-200: Microsoft Excel (Office 2019) - Part I
We are starting a series of Articles focusing on preparation tips for MO-200 Exam and this is PART I!

In today's article, we are going to discuss the syllabus of MO-200: Microsoft Excel (Office 2019) Exam, considering the volume of the syllabus we are dividing the discussion into multiple posts sequentially.
What is MO-200: Microsoft Excel (Office 2019) Exam? 🤔
This is Microsoft's own practical project based exam which will assess your basic and intermediate-level Excel skills and upon scoring more than 70% you will be awarded Certification & a Digital Badge for Microsoft Office Specialist: Excel Associate (Office 2019).
Overview of Syllabus:
Manage worksheets and workbooks (10–15%)
Manage data cells and ranges (20–25%)
Manage tables and table data (15–20%)
Perform operations by using formulas and functions (20–25%)
Manage charts (20–25%)
Manage worksheets and workbooks (10–15%)
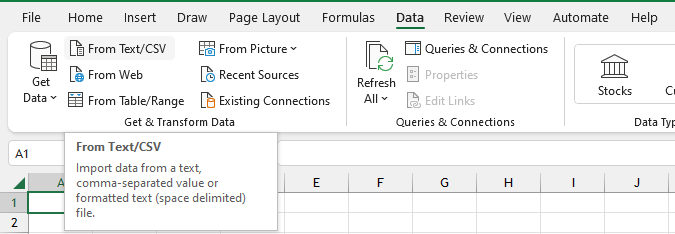
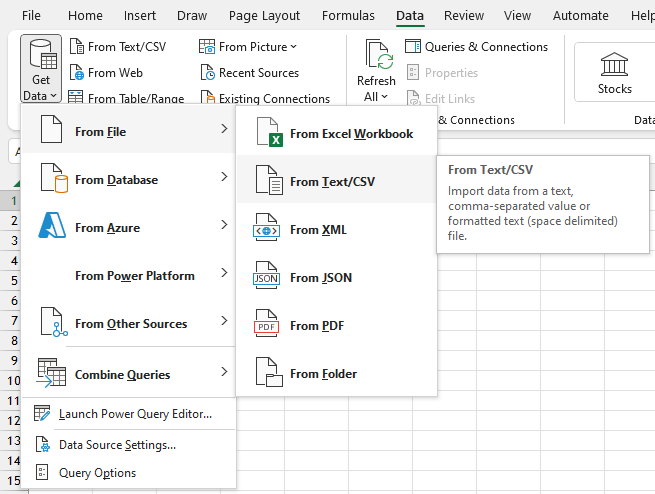
Import data into workbooks 📄
Importing data from .txt or .csv files
Data Tab >> under Get & Transform Data Group >> From Text/CSV (if not available) Get Data >> From File >> From Text/CSV.
Navigate within workbooks 📁
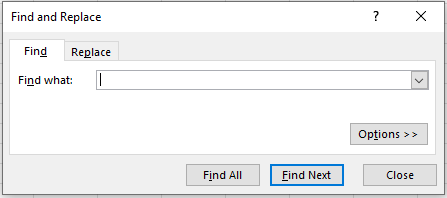
Search for data within a workbook 🔍
Home Tab >> Editing Group >> Find & Select >> Find
Shortcut: Ctrl + F
Using Wild Card Characters in the Find option:
Asterisks (*) represent any number of characters. For instance, Using ch* will find the words starting with ch, using *ch will find the words ending with ch, and using *ch* will find the words containing ch in any position (start, end, or middle).
Question mark (?) represents any single character.
Tilde (~) cancels the effect of a wildcard and turns it into a literal asterisk (~*), a literal question mark (~?), or a literal tilde (~~).
For a More Detailed Discussion & illustrations on wild card characters on search go through the following articles:
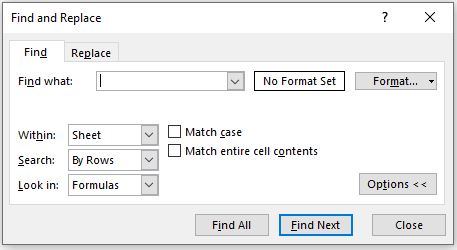
Advanced Find option:
Search using the Format option will find you the cells with particular formatting and the keywords entered in the box (formatting like Bold, Italics, Font Style & color, border, and so on).
Within: you can search within the sheet or in the whole workbook.
Search: by Rows or by Columns
Look In: using this option, you can specifically look into Formulas, Values, Notes, and Comments.
Match Case: if you want to search with an exact match of the case (Upper, Lower or Proper) then tick this option.
Match Entire Cell Content: as the name suggests if you want to match your keywords with entire cell content.
Navigate to named cells, ranges, or workbook elements ↪️
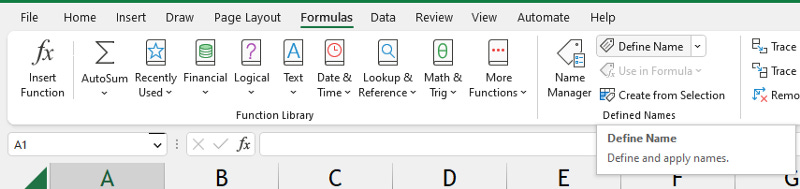
Cells or a Range of cells can be named by clicking on the Name Box (which is the left corner of the Formula Bar) (or) going through Formulas >> Define Name
Shortcut: Alt + F3

Apart from Cells & Range of cells, there are other workbook elements that will be named such as Tables, Print Areas, and so on.
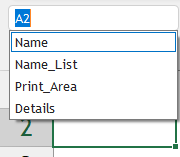
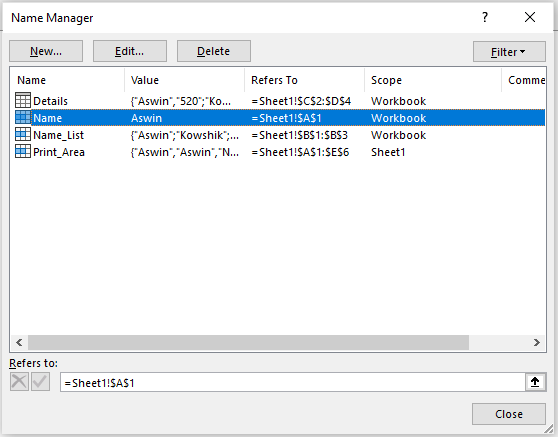
How to Navigate these Named Elements in the Workbook?
Drop Down in Name Box (Note: Print Area will be specific to the worksheet in which it has been set, whereas all other elements will be available in every other worksheet).
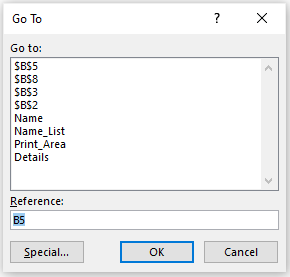
2. Go To Option (Ctrl+G)
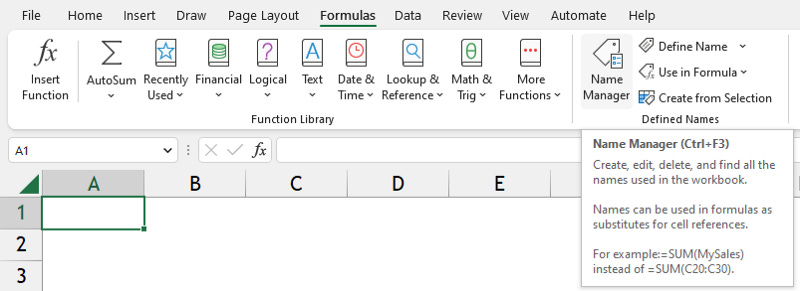
3. Name Manager in Formulas (Formulas >> Name Manager)
Insert and remove hyperlinks 🔗🌐
Shortcut for inserting Hyperlinks: Ctrl+K
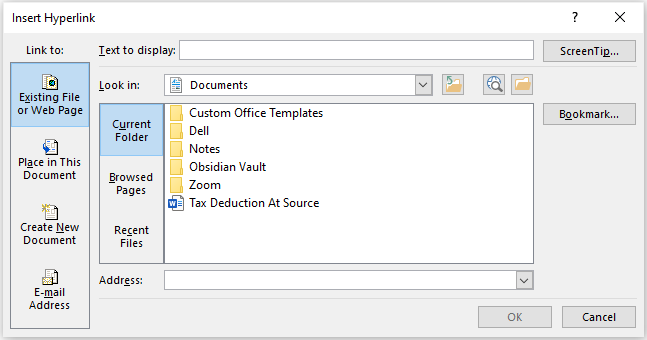
Enter the Text you want to display instead of the long hyperlink in the Text to-display Box.
Copy & Paste the URL link of the website in the Address box.
Instead of a URL, you can also link any Table, Named cell, or range of cells using the Place in this Document option.
Format worksheets and workbooks 📄
Modify Page setup
Page Layout (Tab) >> Page Setup (Group)
>> Page Setup > Page:
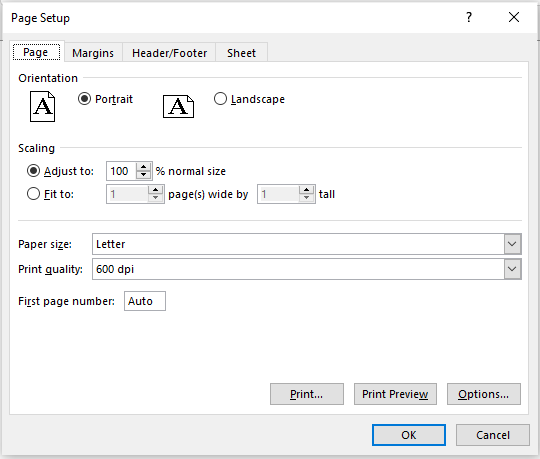
As you saw in the image above, you have the following options in the Page Setup (Page) Dialogue Box:
Page Orientation: Portrait or Landscape.
Scaling: Adjust to a certain % (or) Fit the entire content into no. of pages.
Paper Size: A4, Letter, Legal, and so on.
Print Quality: in dpi.
First Page Number: you can set a custom first page no. to start with.
>> Page Setup > Margins:
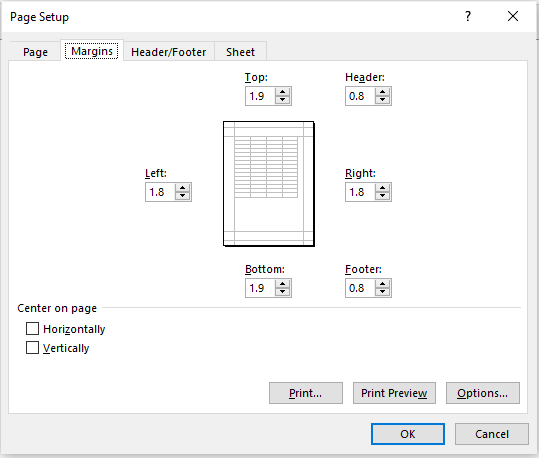
As you saw in the image above, you have the following options in the Page Setup (Margins) Dialogue Box:
Using the dialogue boxes as shown in the pictures you can alter the margins of left, right, bottom & top, and also adjust the Margins of the Header & Footer.
Using the options on Center on Page: you can align the content of the page in a Vertical or Horizontal manner for printing purposes without altering the data in the sheet.
>> Page Setup > Header/Footer:
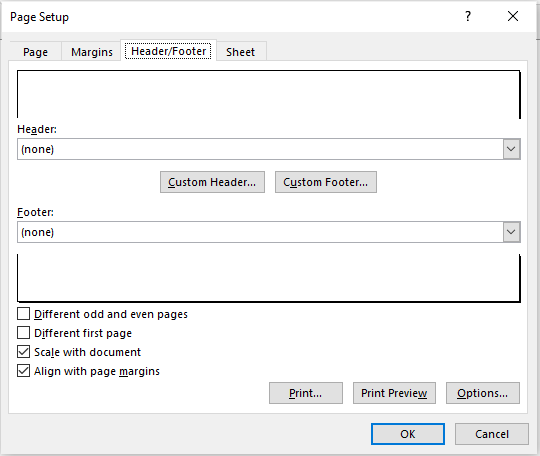
As you saw in the image above, you have the following options in the Page Setup (Header/Footer) Dialogue Box:
There will be Templates for the Header and Footer already available in the drop-down menus of the Header and Footer.
If you want a Custom Header and Footer for your document, then you can create them by clicking Custom Header and Footer Dialogue boxes.
Other Options: Different odd and even pages, Different first pages, Scale with a document, and Align with page margins (Not much explanation is required for this part).
>> Page Setup > Sheet:
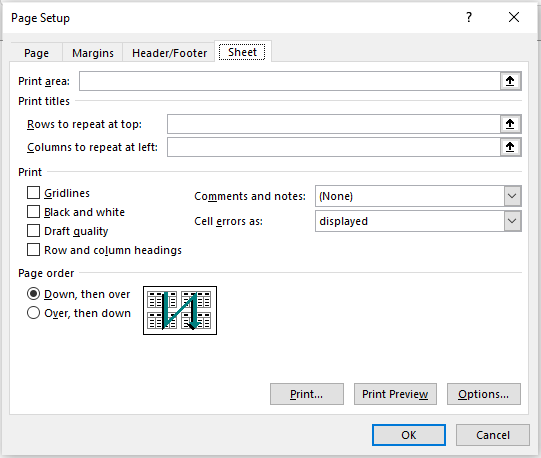
As you saw in the image above, you have the following options in the Page Setup (Sheet) Dialogue Box:
Setting Print Area.
Print Titles to repeat on all pages of Print Area: Rows and Columns.
Page Order (if more than one page): Down, then over or Over, then down.
Other Options: Gridlines, Black & White, Draft Quality, Row & column headings, Comments & Notes, and Cell errors as “____” (Not much explanation is required for this part).
Adjust row height and column width
Home >> Cells >> Format >> Cell Size
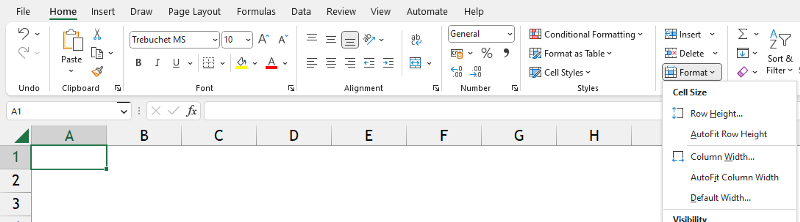
Following are the options which will be available in the Cell Size under Format:
Row Height & Column Width: Custom adjustment to the height and width of Rows and Columns.
AutoFit: As the name suggests this option will adjust the row height and column width according to the contents in the cell.
Default Width: it will restore the default width of the column.
Customize headers and footers 📜
1st Option: Click Page Layout View available in the Status Bar. As shown in the below image this view will enable you to customize the header and footer of your document.
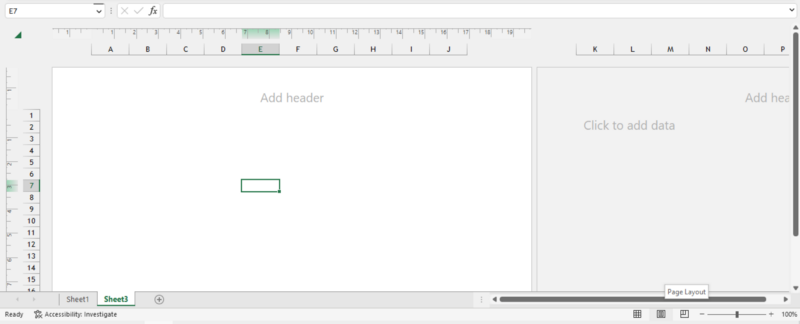
2nd Option: Page Layout >> Page Setup dialogue box >> Header/Footer >> Custom Header/Footer (Discussed earlier in this Post).