MO-200: Microsoft Excel (Office 2019) - Part II
In Part II of our MO-200 Preparation series we are going to see Customize options and views ⚙️ on Microsoft Excel

Welcome to Part II of the MO-200 Series. In Part I, we have discussed Format worksheets and workbooks of Manage worksheets and workbooks (10–15%). In this article, we’ll continue the discussion from there. For those who didn’t read my Part I article, here is the link:
Customize options and views ⚙️
Customize the Quick Access toolbar
Two Options to navigate to Quick Access Toolbar
Files >> Options >> Quick Access Toolbar; Shortcut: Alt, F, T
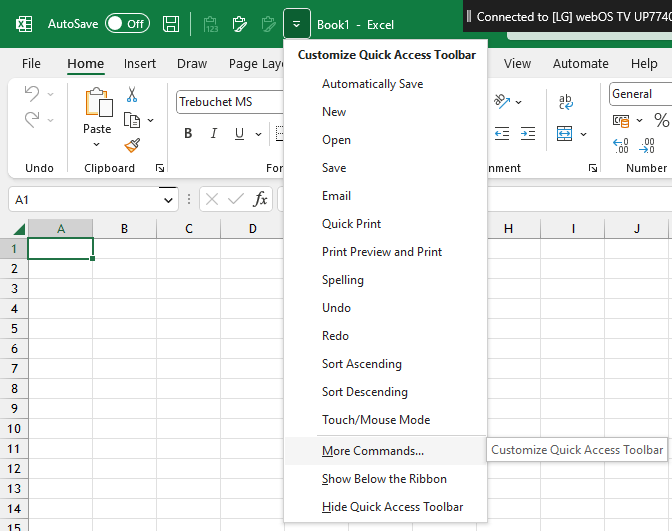
Tap the Dropdown icon in the Quick Access Toolbar >> More Commands
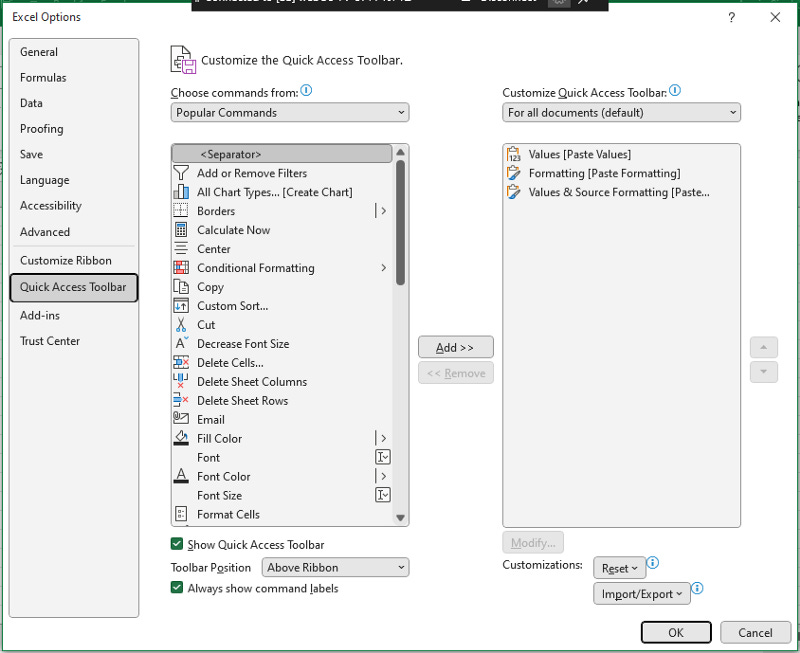
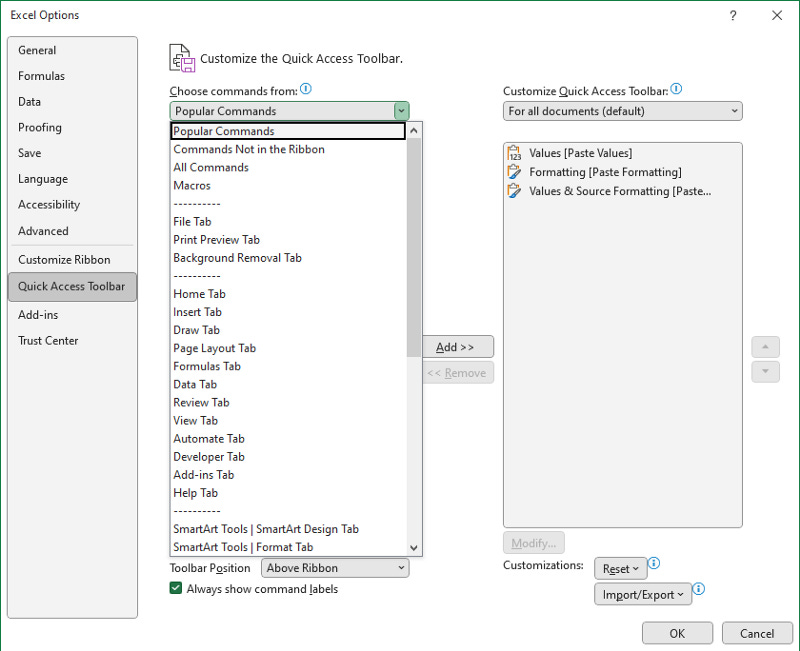
By using the Add & Remove icon in the center you can customize the Quick Access Toolbar (QATB) if you need the specific tool to be inserted in the QATB but not available in the list then tap the dropdown icon in the choose commends from the box and select the specific Tab in which the tool is available to the relevant tools.
For more discussion on Quick Access Toolbar refer to the below article:

Display and modify workbook content in different views
There are three types of Views in which workbook content can be displayed and modified (available in the Status Bar of the workbook or View Tab >> Workbook Views; Shortcut: Alt, W):
Normal (as the name suggests this is the normal view that neither shows any page break preview nor header & footer).
Page Layout view (View shows Header & Footer - pagewise).
Page Break Preview (Highlights only Print Area and dulls the other part of the worksheet).

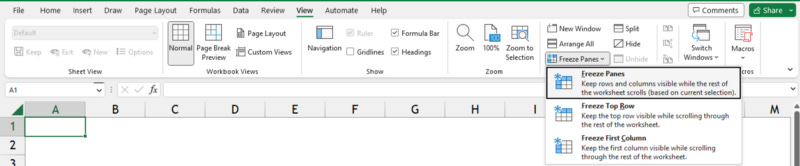
Freeze worksheet rows and columns
Navigation: View >> Freeze Panes >> Options; Shortcut: Alt, W, F, F
Freeze Panes (Used to freeze Columns as well as Rows in the selected region which can be anywhere in the worksheet).
Freeze Top Row (will keep the top row visible while scrolling down).
Freeze First Columns (will keep the first column visible while scrolling right).
Modify basic workbook properties
Detailed Articles by Microsoft Support
Display formulas
Navigation: Formulas Tab >> Show Formulas;
Shortcut: Alt, M, H or Ctrl+`
This Formula will display all the formulas in the worksheets.

Configure content for collaboration 📝
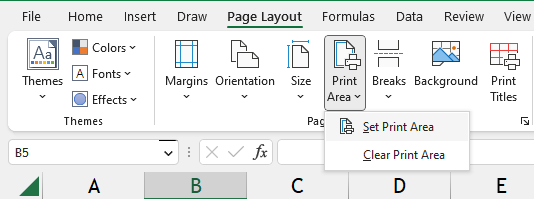
Set a print area
Navigation: Page Layout Tab >> Print Area >> Set Print Area;
Shortcut: Alt, P, R, S (Set Print Area) or A (Add Print Area).
If you set the Print Area first and need to add another range as the second or third page and so on use Add Print Area option in the same menu.
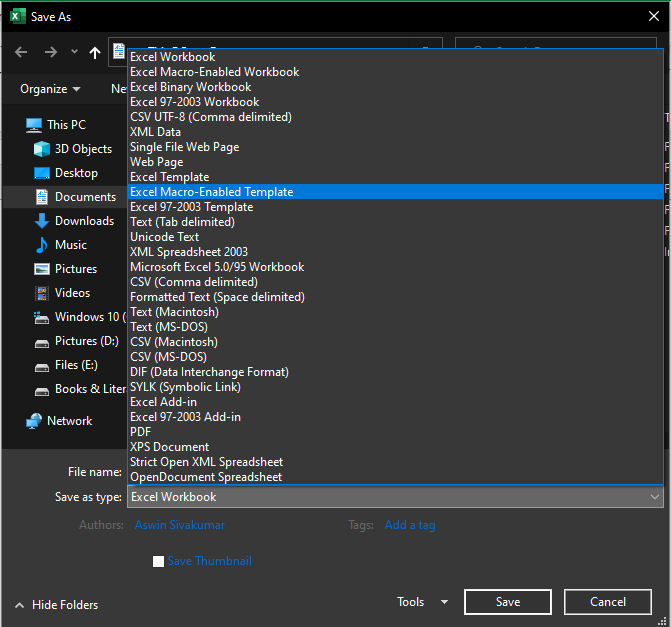
Save workbooks in alternative file formats
Navigation: File >> Save As >> Save as Type;
Shortcut: F12.
Configure print settings
Navigation: Page Layout >> Page Setup;
Shortcut: Alt, P, SP.


(For Detailed Discussion, kindly visit Part I of this Series: Modify Page setup section in Format worksheets and workbooks 📄).
Inspect workbooks for issues
Navigation: File >> Info >> Inspect Workbook >> Check for Issues;
Shortcut: Alt, F, I, I.